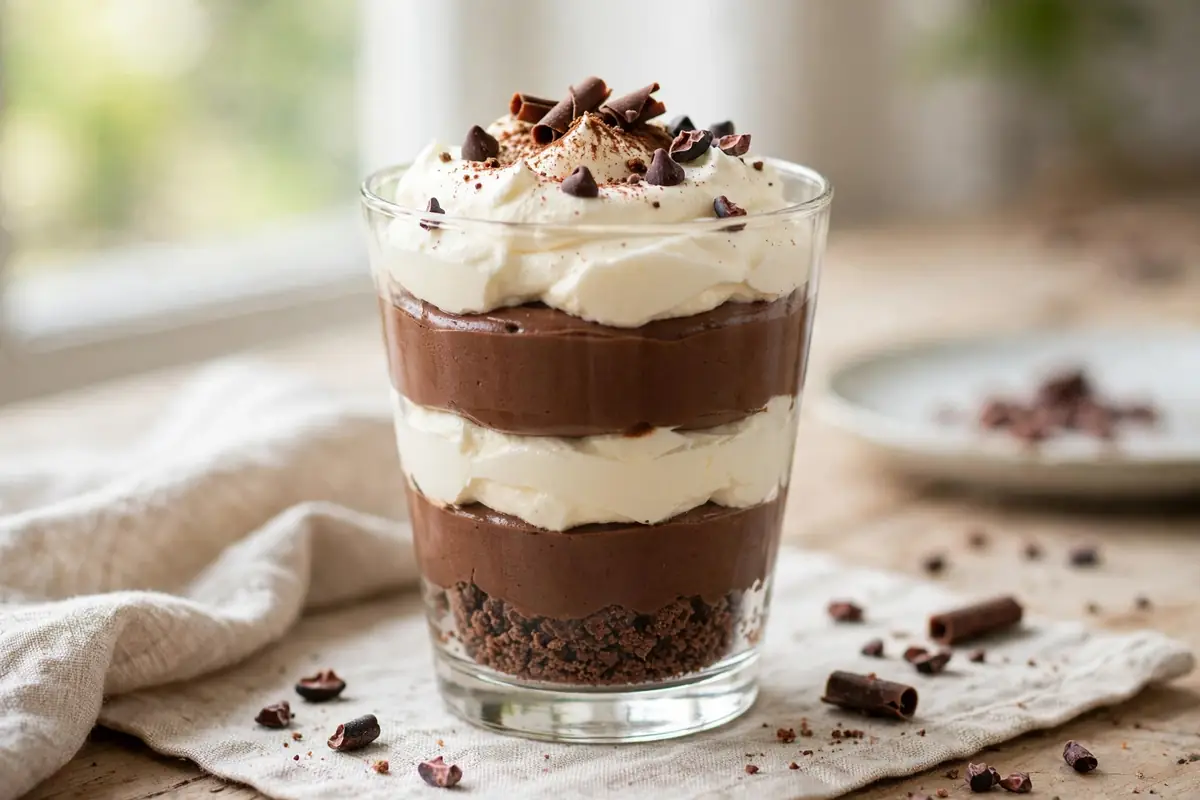
Some nights you want chocolate dessert, but you do not want to turn on the oven. Maybe it is a hot summer evening, maybe the oven is busy, or maybe you just want something that comes together in the refrigerator while you do other things. This no-bake chocolate dessert is the answer. It is rich, creamy, and deeply chocolatey, with a crunchy cookie crust and a silky chocolate filling that sets up in the fridge.
The dessert has three simple layers: a chocolate cookie crust pressed into a pie dish, a smooth chocolate filling made with cream cheese, melted chocolate, and whipped cream, and a light topping of whipped cream with chocolate shavings. It looks impressive when you slice it, but the whole thing takes about 20 minutes of hands-on time. The refrigerator does the rest.
This is the dessert to make when you need something for tomorrow and you want to get it done tonight. Make it the day before a party, let it chill overnight, and slice it cold the next day. It is perfect for summer gatherings, potlucks, and holiday tables, and it is easy enough for a beginner to make with confidence.
Why You Will Love This Recipe
Here is why this no-bake dessert is worth adding to your recipe collection.
- No oven needed. The whole dessert sets in the refrigerator, which makes it perfect for hot days and busy kitchens.
- Rich and creamy. The filling is smooth, dense, and full of real chocolate flavor.
- Make ahead. It tastes even better the next day, so you can make it the night before a party.
- Simple ingredients. Chocolate cookies, butter, cream cheese, chocolate, and cream are all you need.
- Easy to serve. Slice it cold straight from the refrigerator for clean, neat pieces.
Ingredients
Use good-quality chocolate for the filling, because the chocolate flavor carries the whole dessert. Semisweet chocolate chips work well, or use chopped semisweet chocolate bars.
- For the crust: 24 chocolate sandwich cookies, crushed into fine crumbs
- For the crust: 5 tablespoons unsalted butter, melted
- For the filling: 8 ounces cream cheese, softened
- For the filling: 1/2 cup powdered sugar
- For the filling: 1 teaspoon pure vanilla extract
- For the filling: 8 ounces semisweet chocolate, melted and slightly cooled
- For the filling: 1 1/2 cups heavy whipping cream, cold
- For the topping: 1 cup heavy whipping cream, cold
- For the topping: 2 tablespoons powdered sugar
- For the topping: 1 teaspoon pure vanilla extract
- Chocolate shavings or cocoa powder, to decorate
Equipment You Will Need
- 9-inch pie dish or springform pan
- Food processor or zip-top bag and rolling pin
- Large mixing bowl and medium mixing bowl
- Electric mixer (handheld or stand mixer)
- Rubber spatula
- Plastic wrap
How to Make It
Start by making the crust. The filling comes together while the crust chills, and the whole dessert needs at least 4 hours in the refrigerator to set firmly.
- Make the cookie crumbs. Crush the chocolate sandwich cookies into fine crumbs in a food processor, or place them in a zip-top bag and crush them with a rolling pin. You should have about 2 cups of crumbs.
- Mix the crust. Stir the crumbs with the melted butter until the mixture looks like wet sand and holds together when you squeeze a handful.
- Press the crust into the dish. Press the crumb mixture firmly into the bottom and up the sides of a 9-inch pie dish. Use the bottom of a measuring cup to press it flat and even.
- Chill the crust. Refrigerate the crust for 20 minutes while you make the filling. This helps it hold its shape when you slice the dessert.
- Beat the cream cheese. In a large bowl, beat the softened cream cheese, powdered sugar, and vanilla on medium speed until smooth and creamy, about 2 minutes. Scrape down the sides of the bowl.
- Add the melted chocolate. Pour in the melted chocolate and beat on low speed until fully combined and smooth. The mixture will be thick and glossy.
- Whip the cream. In a separate bowl, whip the cold heavy cream on medium-high speed until soft peaks form. Do not overwhip, or the cream will turn grainy.
- Fold the cream into the chocolate. Gently fold the whipped cream into the chocolate mixture in two additions, using a spatula and lifting from the bottom of the bowl. Stop as soon as the filling is smooth and no white streaks remain.
- Fill the crust. Spoon the filling into the chilled crust and smooth the top with a spatula.
- Chill the dessert. Cover with plastic wrap and refrigerate for at least 4 hours, or overnight. The filling needs time to set firmly.
- Add the topping. Just before serving, whip the remaining cream with the powdered sugar and vanilla until soft peaks form. Spread or pipe it over the dessert and sprinkle with chocolate shavings or a dusting of cocoa powder.
- Slice and serve. Slice with a sharp knife, wiping the blade clean between cuts, and serve cold.
Tips for the Best Results
- Use cold cream. Heavy cream whips best when it is very cold. Chill the bowl and the beaters in the freezer for 10 minutes before whipping for the best volume.
- Soften the cream cheese fully. Cold cream cheese makes a lumpy filling. Leave it on the counter for 45 minutes, or microwave it in 10-second bursts until it is soft.
- Cool the melted chocolate. The chocolate should be warm, not hot, when you add it to the cream cheese. Hot chocolate can melt the cream cheese and make the filling runny.
- Fold gently. When you fold in the whipped cream, use slow, lifting strokes. Stirring hard knocks out the air and makes the filling dense instead of light.
- Chill overnight if you can. Four hours is the minimum, but overnight gives the cleanest slices and the best flavor.
- Use a springform pan for easy serving. A springform pan lets you remove the sides and show off the layers. A pie dish works too, and it is easier to store.
Variations to Try
- Peanut butter chocolate dessert: Add 1/2 cup of creamy peanut butter to the cream cheese mixture and top with chopped peanuts.
- Mint chocolate dessert: Add 1/2 teaspoon of peppermint extract to the filling and top with crushed mint candies.
- Oreo crust with white chocolate: Use white chocolate in the filling instead of semisweet, and top with extra cookie crumbs.
- Mocha dessert: Add 1 tablespoon of instant espresso powder to the melted chocolate for a coffee flavor.
- Strawberry chocolate dessert: Top the finished dessert with sliced fresh strawberries instead of chocolate shavings.
How to Store It
Store the dessert covered in the refrigerator for up to 4 days. The crust stays crisp for the first 2 days and softens slightly after that, but the flavor stays wonderful. Do not freeze the finished dessert with the whipped cream topping, because the topping does not thaw well. You can freeze the filled dessert without the topping for up to 1 month: wrap it tightly in plastic wrap and foil, thaw it overnight in the refrigerator, and add the whipped cream topping just before serving.
Frequently Asked Questions
How long does this dessert need to chill?
At least 4 hours, but overnight is better. The filling needs time to set firmly so you can slice it cleanly. If you cut it too early, the filling will be soft and the slices will fall apart.
Can I make this dessert without a food processor?
Yes. Place the cookies in a zip-top bag, seal it, and crush them with a rolling pin until you have fine crumbs. It takes a few minutes, but it works just as well.
Why is my filling runny?
The most common causes are warm melted chocolate, cream cheese that was too soft, or not enough chilling time. Let the chocolate cool slightly before adding it, and chill the dessert for at least 4 hours, or overnight.
Can I use Cool Whip instead of whipped cream?
Yes, you can replace the whipped cream in the filling with 2 cups of thawed whipped topping, and use whipped topping for the top layer too. The texture will be lighter and less rich, but it works in a pinch.
Can I make individual servings?
Yes. Divide the crust and filling among 8 small dessert cups or ramekins. Chill for at least 3 hours and top with whipped cream before serving. Individual cups are perfect for parties.
Do I need to use a springform pan?
No. A regular 9-inch pie dish works well. A springform pan just makes it easier to remove the sides and show the layers, but the dessert slices fine from a pie dish too.
No oven, no fuss, and a dessert that looks like it took all day. That is the beauty of this no-bake chocolate dessert. Make the crust, fold the filling, and let the refrigerator do the work. The next day, add a cloud of whipped cream, slice it cold, and watch it disappear. Keep this recipe for hot summer days, busy holidays, and every time you need a chocolate dessert without turning on the oven.